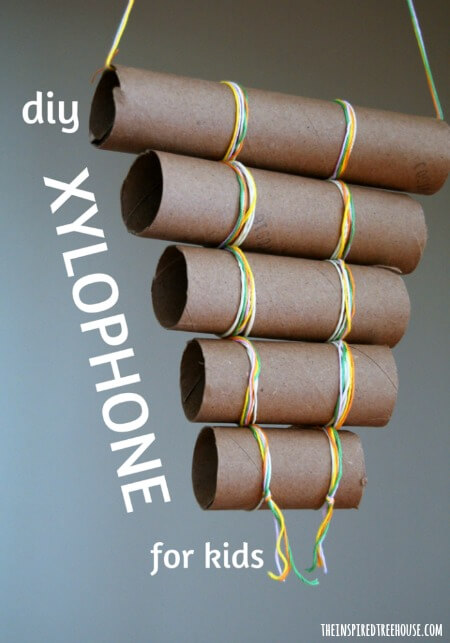
Musical toys are great developmental tools for kids. From auditory sensory processing to fine motor skills to proprioception and more, store bought or homemade instruments and other toys that make music are an awesome way to get kids rockin’ and moving! I’m in love with this super easy homemade Xylophone for little ones – try it out and you’ll have your own little one man (or woman) band in no time!
*This post contains affiliate links. Read more here.
WHAT YOU’LL NEED:
-Cardboard tubes (paper towel rolls, toilet paper rolls, wrapping paper rolls)
-Rubber bands
-Yarn, ribbon, or embroidery floss
WHAT TO DO:
Cut your tubes so that you have 5 different lengths (about 1″ difference in length between each tube).
Start with your two smallest tubes and use a rubber band to fasten them together. Put the rubber band around one tube, twist it (so it makes a figure 8) and put the other loop around the next tube. Hold them in place and put another rubber band around the two tubes the same way.
Then, add the next biggest tube using the same method with the rubber bands. Keep going until you’ve added all of your tubes.
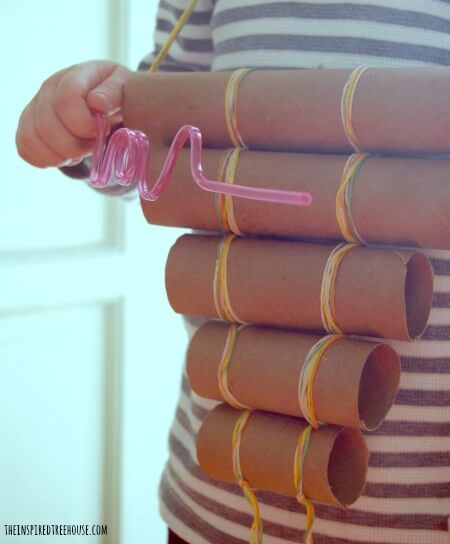
Next, use your yarn, ribbon, or embroidery floss to weave in and out of your xylophone tubes for decoration. We took a length of embroidery floss, put it through the largest tube, and tied a knot so the kids could wear it around their necks!
HOW TO CHANGE IT UP:
-Try letting your child personalize their xylophone by decorating the tubes before you fasten them together! You could paint them, color on them with markers or crayons, add stickers – get creative!
-Try out your xylophone using different types of sticks! Our favorite? Silly straws! Other options: chopsticks, twigs, pencils/pens.

Be sure to sign up for our newsletter! You’ll get a weekly roundup of our favorite posts and some of our other favorite finds from around the web – all delivered right to your inbox!

Latest posts by Claire Heffron (see all)
- Pro Tips for Conquering Toddler Separation Anxiety - April 25, 2024
- Cute Zipper Bags for Therapists - April 18, 2024
- Fairy Tale Games and Toys - April 12, 2024

[…] Xylophone from The Inspired Treehouse […]