Every year, my girls and I troll Pinterest looking for ideas for our fairy garden. It’s a tradition that started 3 years ago when we visited a local garden center where they were mesmerized by the 2×2’ box that contained another world where fairies might play! Ever since, we have worked to create our own little bit of fantasy in our gardens at home. But we’ve never been able to get the fairy house quite right. We’ve tried recycled ½ gallon milk cartons, stacked stones, and moss covered creations. This year, we finally figured it out and we want to share our idea with you – add it to your list of fun summer fine motor activities!
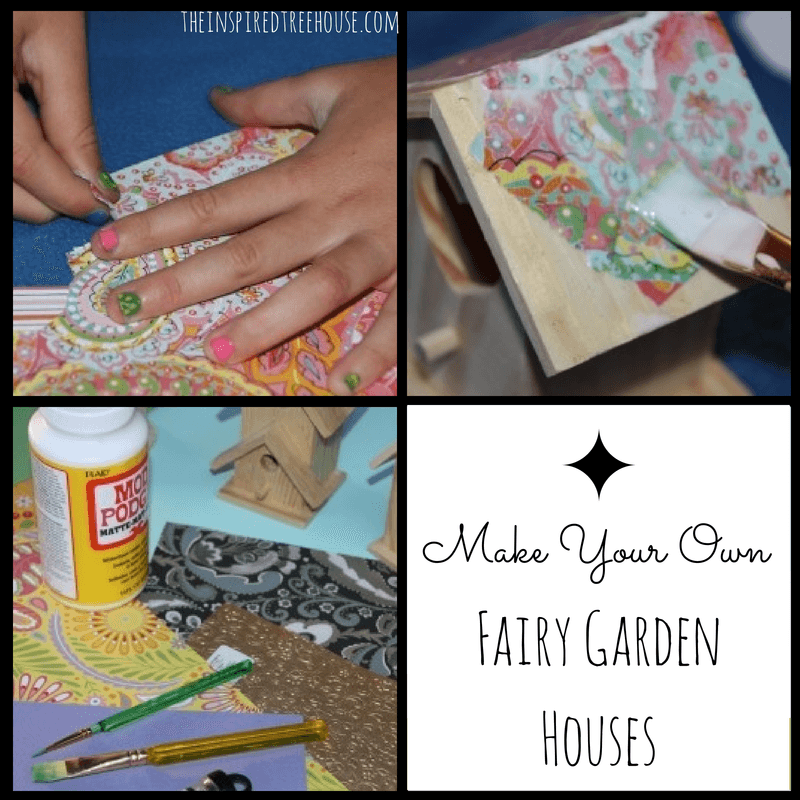
WHAT YOU NEED: Miniature wooden birdhouses — we found ours at JoAnn Fabrics for $1.19 each, pretty paper, Mod Podge, paint brushes, various embellishments and other craft supplies (glitter, gems, ribbon, tapes, etc), and Clear Acrylic Spray Paint.

WHAT TO DO:
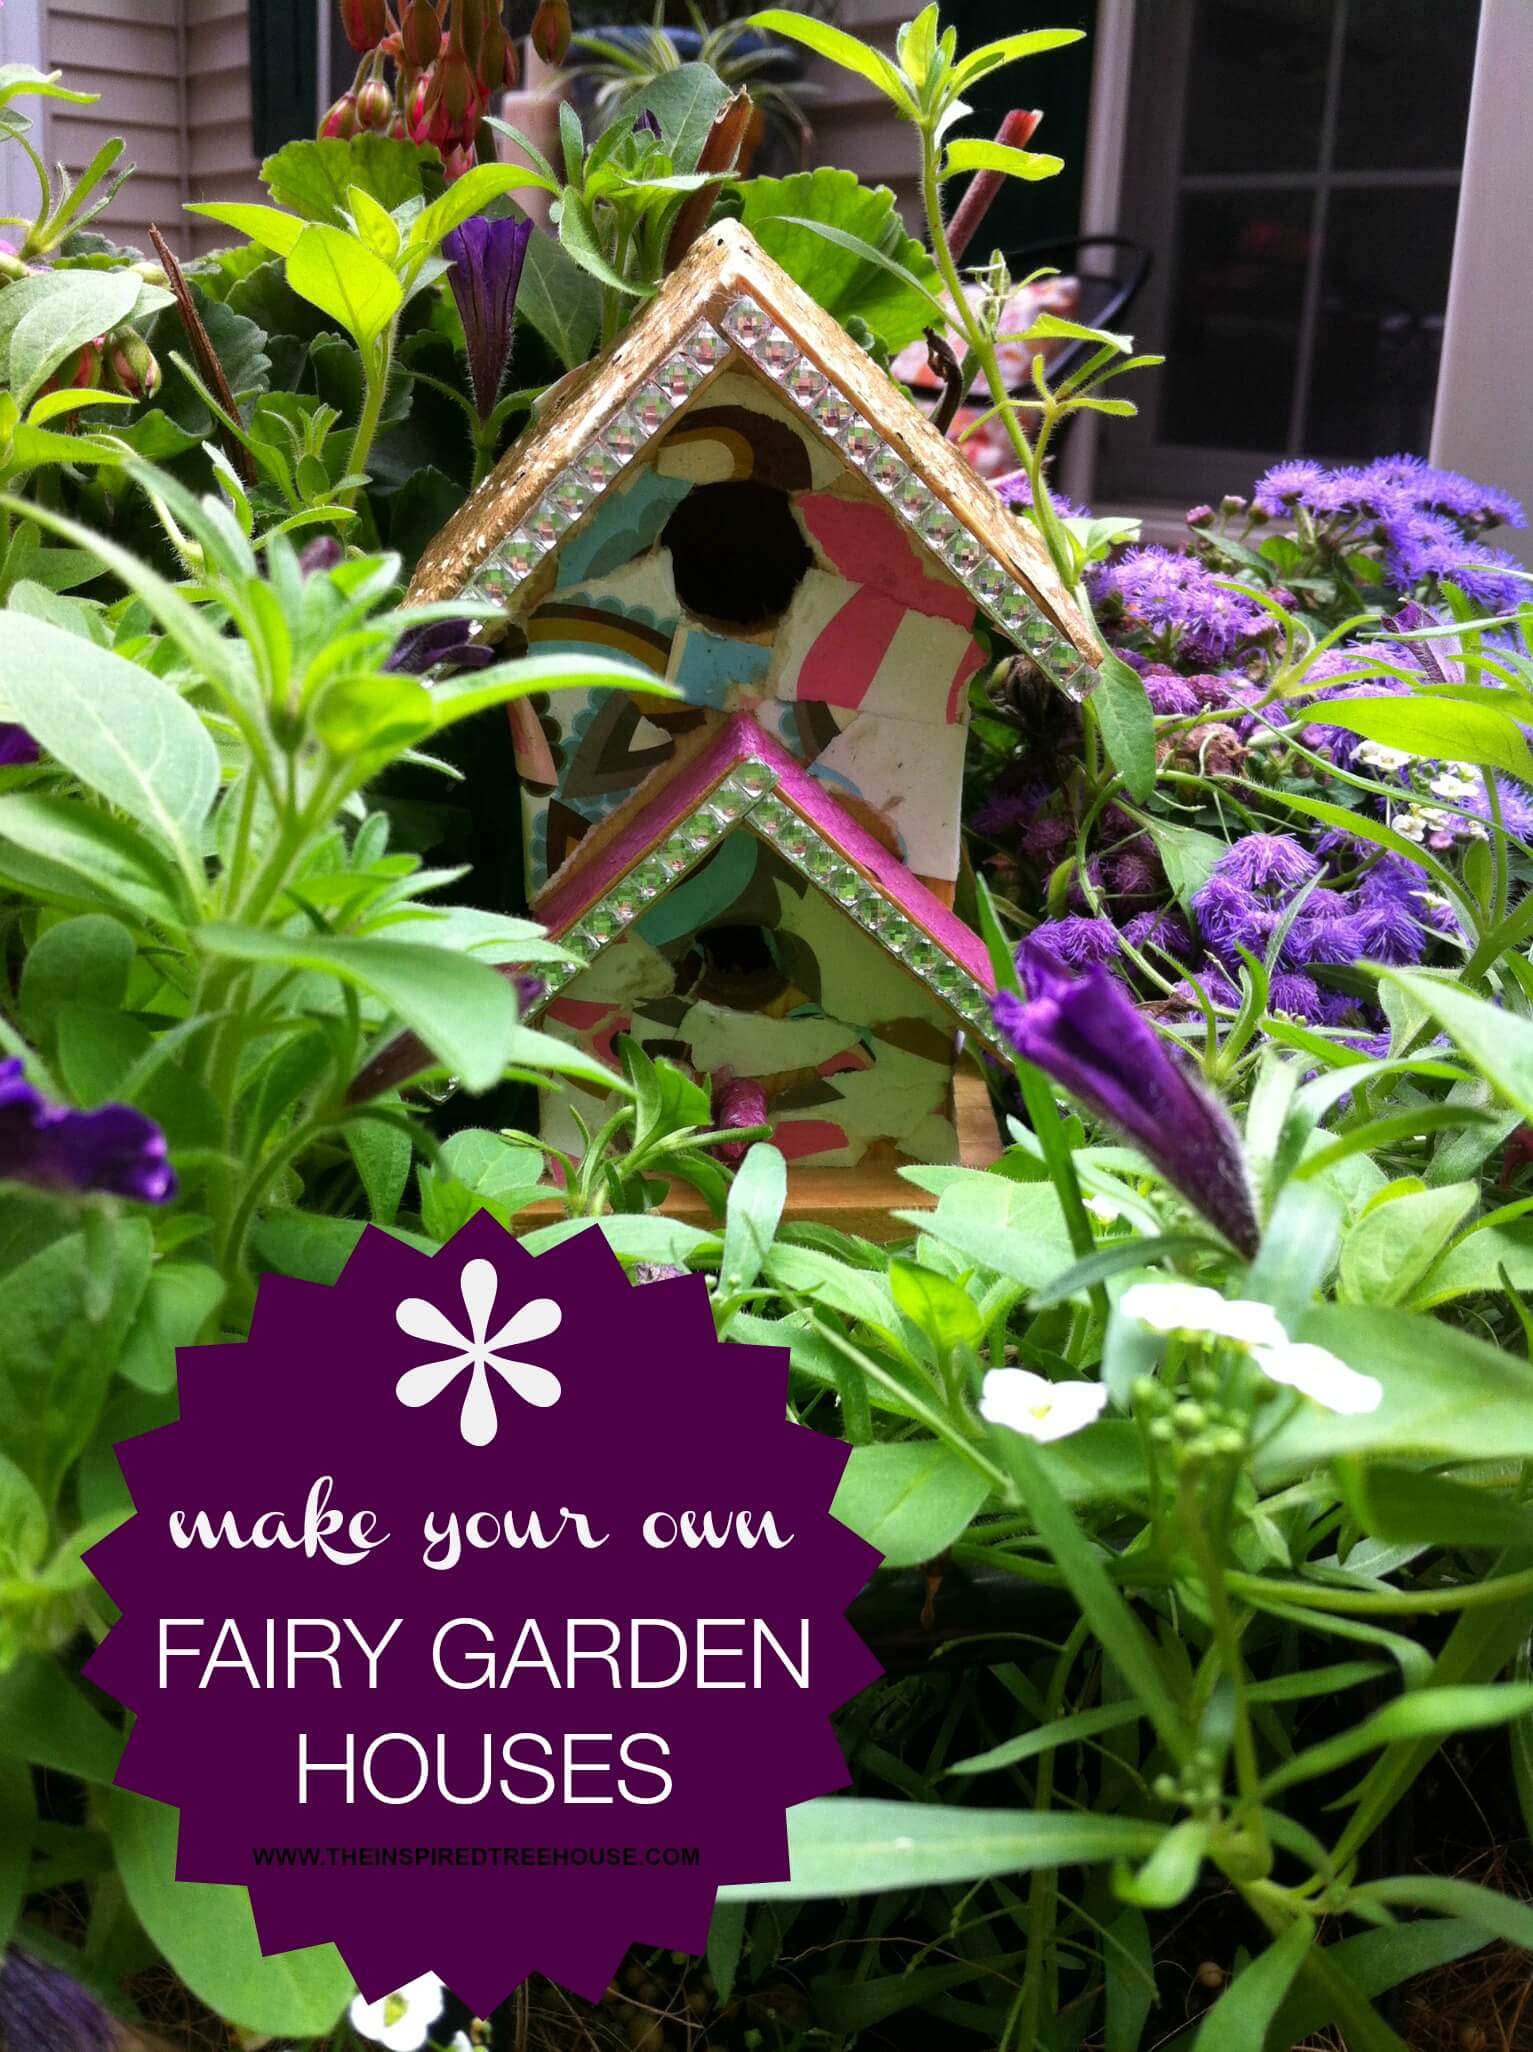
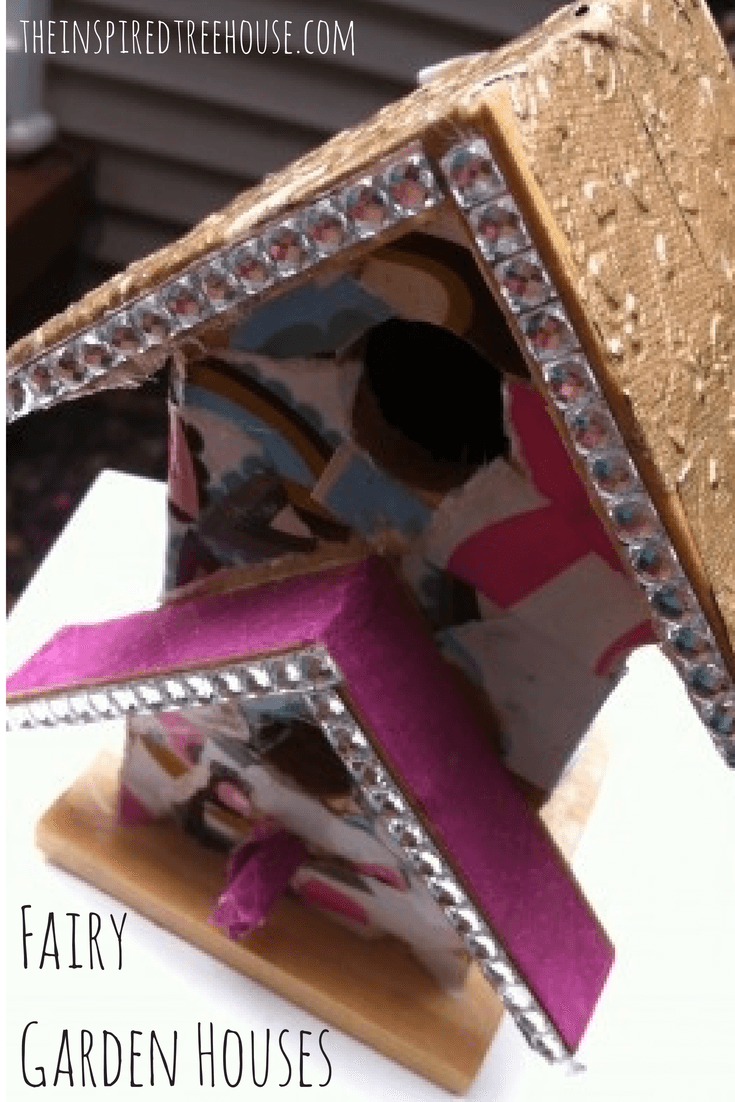
Of course some component of our little activity has to promote child development, right? Take those pretty scrapbook papers and have your kiddos tear them into pieces. Yep, strengthen up those little fingers! Once you have a good pile of little bits of paper, grab a brush, choose one of your little houses, and go to town! Paint a little area of the house with Mod Podge and stick on some paper, continuing until the house is covered to your liking! When you have all of the tiny house covered in paper, coat it with another layer of Mod Podge. You may have to rub the edges of the paper down with your fingers to ensure that everything is good and sticky (great sensory experience here!!). Let it dry overnight and then spray with a good coat of Clear Acrylic Spray Paint (this is a job for a grown-up!). We used Krylon clear acrylic spray paint. Let everything dry, and you have yourself a cute little house that’s fit for any fairy!

HOW TO CHANGE IT UP:
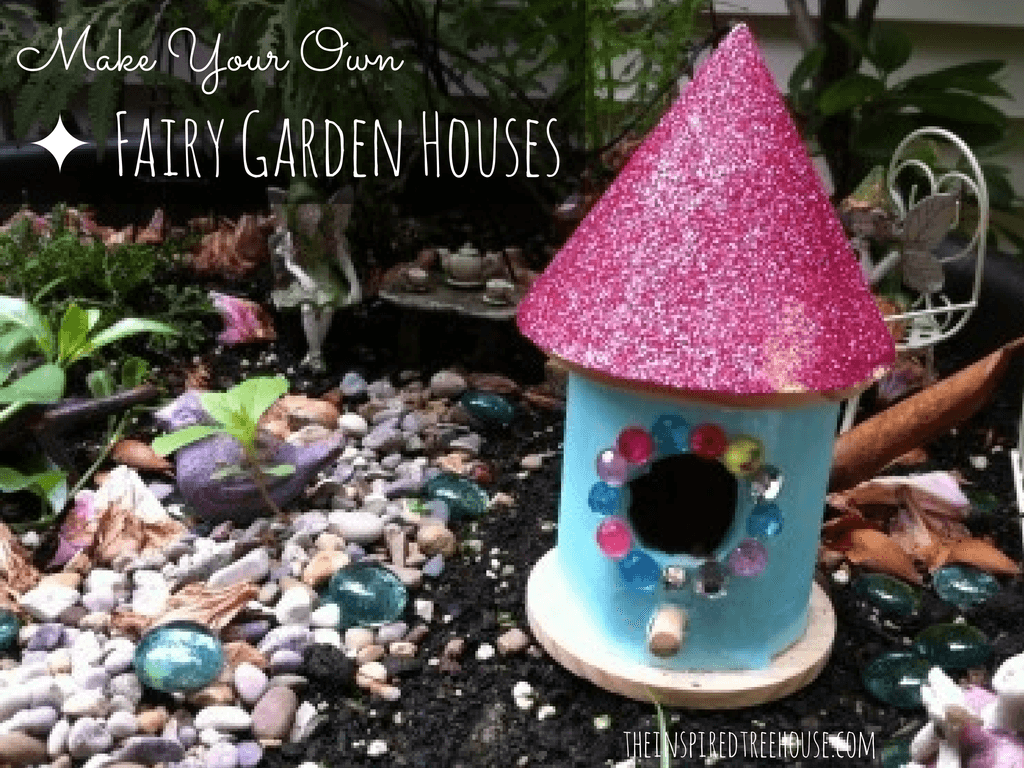
-Use glitter to coat the roof of a house for some added sparkle in the sun! Use the paintbrush to coat the roof in a layer of Mod Podge and then shake (or use those SUPERFINGERS to sprinkle) on the glitter. Allow the glitter to dry. Spray with clear acrylic spray and let sit until dry to the touch.
-If you don’t have a designated fairy garden, place these cute houses in a pot with a plant to add a touch of whimsy! Or, place them randomly along a stone walkway or going up the stairs to a deck! We used super glue to place a few on 2×2” stakes within our garden to add pops of color and charm throughout our flowerbeds.
-Does your child need to work on cutting skills? Draw some lines on the scrapbook paper and have them cut it into little pieces instead of tearing. Here is some great information on encouraging those scissor skills!
-Maybe your child needs a little work on trunk stability? Try this: Have your child sit on a large ball while completing this activity and spread the supplies all over the table in front of him so he has to really reach and move to get them! Or, place the supplies on a stool or box that is set up on the table to make him reach for them.
-To target midline crossing, have the Mod Podge on one side of the table and the paint brush and house on the other (if he is right handed, place the Mod Podge on the left side of the table).. Make him really reach across his body to get to that glue!
SKILL AREAS ADDRESSED: Fine motor skills, bilateral coordination, motor control, grasp, sensory integration, visual motor integration, midline crossing, strength

Be sure to sign up to receive our newsletter, a weekly roundup of our favorite posts delivered right to your inbox! Simply enter your email address in the box in the sidebar and click “Subscribe”!

Looking for more great fine motor activities for kids?
Latest posts by Lauren Drobnjak (see all)
- End of the Year Gifts for Therapists - April 14, 2024
- Playful Therapy Posters to Spruce Up Your Room - March 30, 2024
- How to Help a Baby Crawl & Creative Crawling Patterns We See in Therapy - March 19, 2024


[…] Fine Motor Activities: Make Your Own Fairy Garden Houses […]