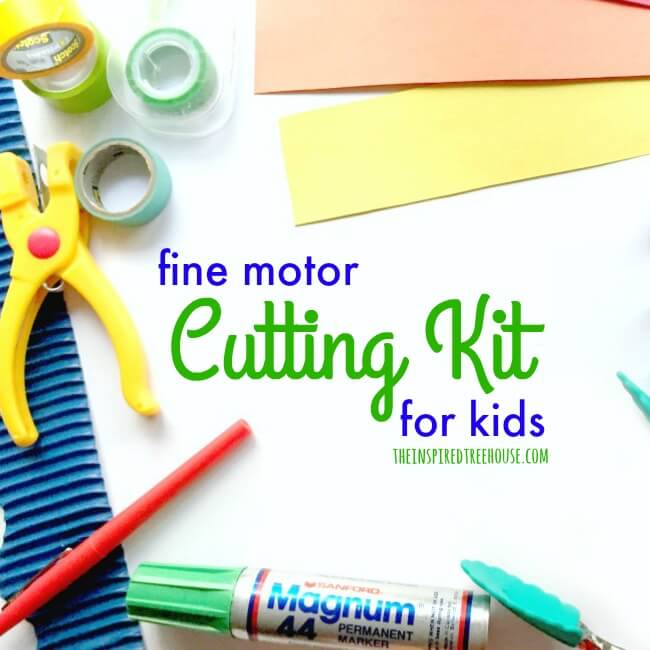
One of my favorite skills to work on in my school-based OT practice? Cutting with scissors! Why? because there are so many fun and creative cutting activities for preschoolers and young kids.
*This post contains affiliate links. Read more.
Most kids are really excited to learn how to use this common classroom tool. Once they get the hang of it, they have the freedom to create masterpieces in art class and they can complete those tricky cut and paste worksheets with ease.
But cutting on those old-fashioned black and white worksheets is b-o-r-i-n-g. To keep preschoolers’ attention and get them excited about learning to use scissors, you need cutting activities with a little bit of wow factor. And we have just the thing!
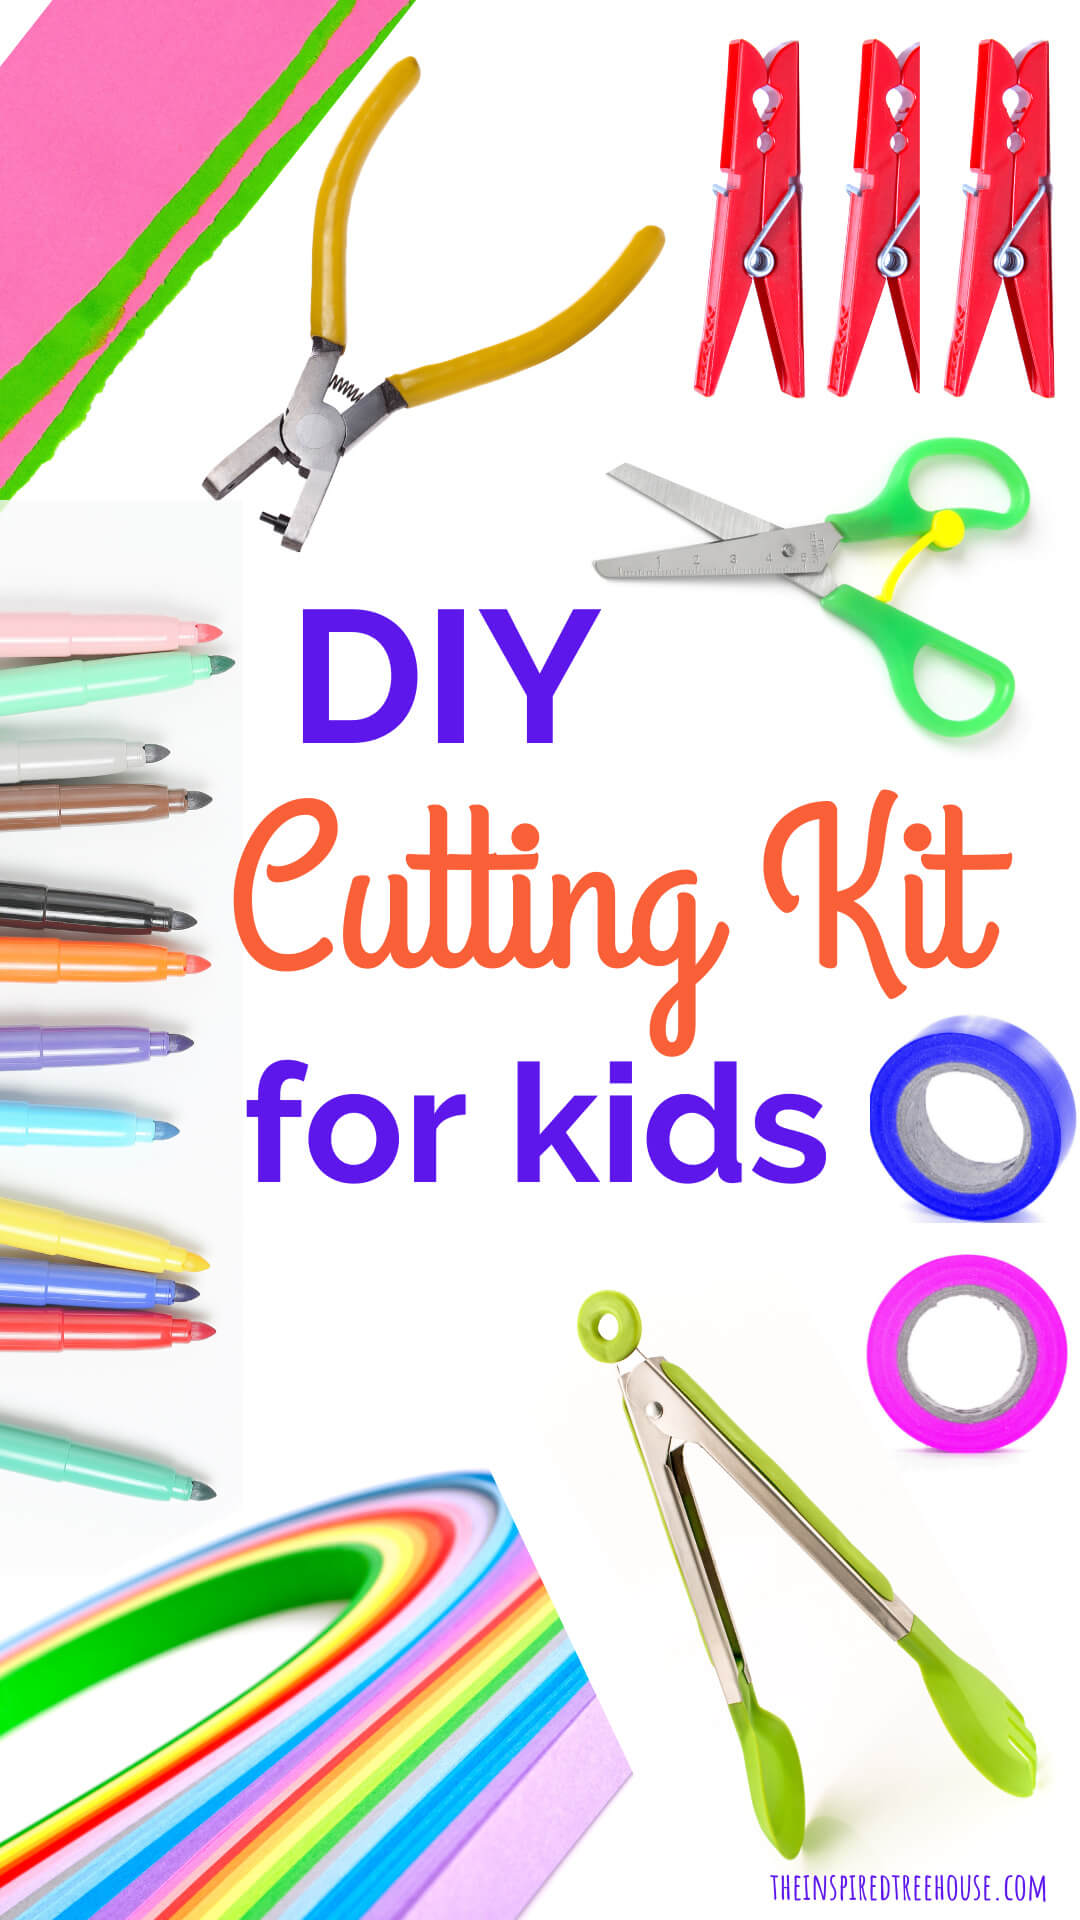
Over the years, I’ve compiled all of my favorite cutting activities and materials into a little kit that I bring with me to most of my therapy sessions. This little bag of tricks is perfect for getting kids interested in learning how to use scissors.
Learn more about this skill and other important skills that are a part of 3 to 5 year old milestones!
Cutting Kit: Cutting Activities for Preschoolers & Young Kids
So, what to put in your cutting kit? You don’t have to spend a lot of money or lug around a giant suitcase. You probably already have most of these materials lying around your house, classroom, or office!
1 || Tweezers/tongs
I love using tweezers and tongs as “warm-ups” before cutting activities. Kids get some great hand strengthening work and using tongs simulates the same movements of the hand as cutting with scissors.
2 || Clothespins/clips
Another great warm-up activity. Have kids clip colored clothespins or other clips to matching index cards. Or write letters on clothespins and have them clip them onto paper in the correct sequence to spell their names!
3 || Hole punches
There are all kinds of hole punches – small ones that just require kids to use their fingers to push out different shapes and regular ones that operate more like scissors. Either way, they make great hand strengtheners and prepare those little hands for cutting!
4 || Long, thin strips of paper
I like to keep these in my cutting kit for kids who are just learning to move their scissors forward on the paper. It gives them quick, easy success as they only need to snip two or three times to make it all the way across the thin strip.
5 || Long strips of paper with lines drawn across
Once kids are pros at snipping the long strips, I give them a little more structure by drawing lines across the width of the strips. Still only two or three snips, but with the added challenge of staying on the line.
6 || Stickers
Stickers are great to use as “targets”. It makes cutting across paper a little more interesting when you’re trying to land on a smiley face. It also helps kids coordinate the visual motor element of cutting when they can see where they’re aiming for.
7 || Bulletin board border
This is a super fun way to practice cutting on lines. First of all, it’s nice and thick so it provides resistive input against the scissors to build proprioceptive and tactile awareness. Also, as kids cut, they automatically line their scissors up with the corrugated lines and their scissors fit right into the groove, encouraging them to cut straight forward.
8 || Tape
There are so many ways to use tape with kids who are learning to cut with scissors. Here are a couple of our favorites: Tape Cutting Mazes and Vehicle Cutting Activity.
9 || Drinking straws
This may sound like a strange addition to a cutting kit, but trust me. I’ve used them more times than I can count to get a smile out of a reluctant cutter. Why? Because when you snip a drinking straw, the little pieces fly and bounce all over the room. And there’s really nothing more fun than making a mess, right?
10 || Putty or play dough
Cutting putty or play dough is another great way to provide resistance on those scissors for proprioceptive and tactile awareness. And it’s a fun and novel way for kids to get used to the open/close motion of the scissors.
11 || Paper of different thicknesses
I always like to have regular printer paper, card stock, craft paper, and even sand paper on hand so kids can practice cutting with different levels of resistance. Some kids have an easier time cutting thicker, more structured paper because it stays rigid in their hands.
12 || Decorative craft scissors
Another fun way to add a little novelty to cutting. There are all kinds of options available that create curves, zigzags, and more!
13 || Gummy bears or fruit snacks
I know, I know. Another weird one. How the heck do you use a gummy bear to teach cutting? Target practice! Simply tear a fruit snack or gummy bear in half (exposing the sticky interior). Stick that sucker right on the paper and have kids cut from the edge of the paper until they reach the gummy bear! Next? You guessed it. A little treat as a reward!
14 || Wide-tipped markers
This is more convenient than having to trace and thicken the lines you’ve drawn on the page for a kiddo to cut. Thick marker = thick lines = great for beginning cutters who aren’t quite used to staying on the line.
15 || Thin markers
And last, but not least…it’s great to have a handful of colorful thin-tipped markers on hand for kids who are ready for the challenge of cutting on a thin line.
So that’s it! My Fine Motor Cutting Kit! What are your best tricks and tips for helping kids learn to use scissors? Share them in the comments below!
Looking for other ways to teach kids how to use scissors? Check out these posts:
Creative Cutting Practice for Kids
13 Ways to Teach Kids How to Use Scissors
Fine Motor Activities: Paint Samples and Hole Punches


Latest posts by Claire Heffron (see all)
- Pro Tips for Conquering Toddler Separation Anxiety - April 25, 2024
- Cute Zipper Bags for Therapists - April 18, 2024
- Fairy Tale Games and Toys - April 12, 2024


[…] DIY Cutting Kit […]