Lately, we’ve been exploring all kinds of fun and creative ideas for helping kids practice cutting with scissors!
Last week, we shared this awesome vehicle cutting activity for practice with cutting on lines and grasping scissors properly. Today, we wanted to show you another super easy activity that can help kids learn how to cut on lines and control their scissors.
What You’ll Need:
-Paper
-Scissors
-Colored tape
What to do:
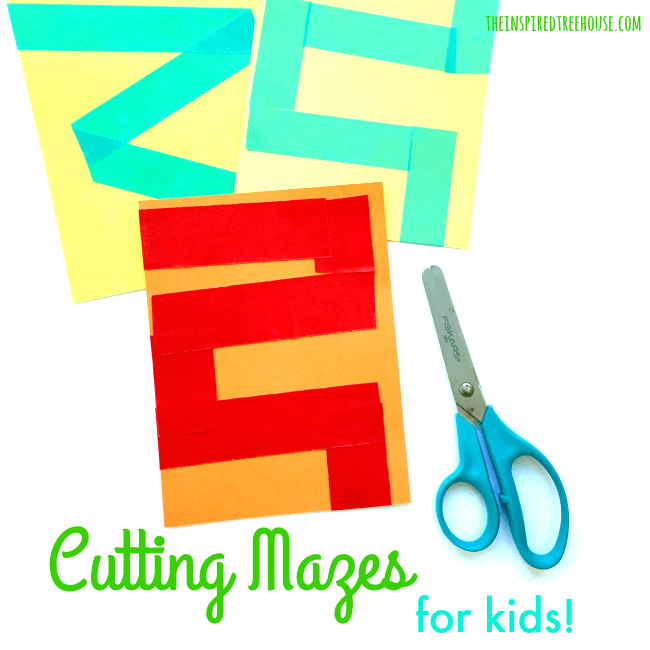
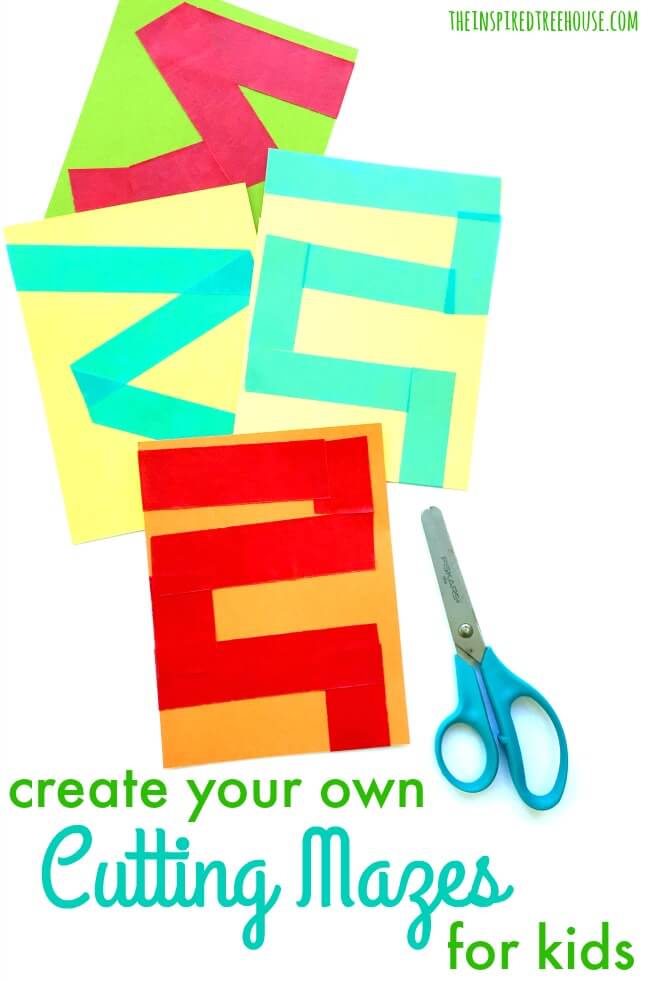
Simply create mazes by placing tape in different patterns on the paper. Try zig zags or straight lines – get creative!
Give kids a starting point on the paper and see if they can cut, staying on the tape, from the beginning of the maze to the end.
Bonus discovery!! We also found that after we finished cutting the mazes, they made great little puzzles! We spread the pieces all over the table and my little guy loved the challenge of figuring out which pieces went together and how to turn them so the lines matched up!
How to change it up:
-Smaller pieces of paper like the ones pictured here are great for kids who are just starting out with cutting on lines. You can use larger pieces of paper as they become more comfortable with this skill.
-Card stock or slightly heavier paper can sometimes be easier for kids to control and hold while cutting. Paper that is very heavy or thick can also be great for strengthening those hands!
-Place a sticker at the end of the maze as a target for kids to cut toward!
For virtual sessions:
Ask the caregiver to have paper, scissors, and colored tape on hand (painters tape or masking tape works well for this activity). Allow the child to create their own tape maze on the page. They may need some help to make sure their tape lines connect to make a “road” across the page.
If needed, instruct the caregiver to draw lines on the page, creating the maze, for the child to place tape on top of. Then allow the child to cut across the tape lines to complete the maze. Repeat as many times as you’d like for extra cutting practice!

Latest posts by Claire Heffron (see all)
- Cute Zipper Bags for Therapists - April 18, 2024
- Fairy Tale Games and Toys - April 12, 2024
- The Best Emotional Regulation Books for Kids - April 8, 2024


[…] Tape Cutting Mazes […]