This post contains affiliate links. Read more.
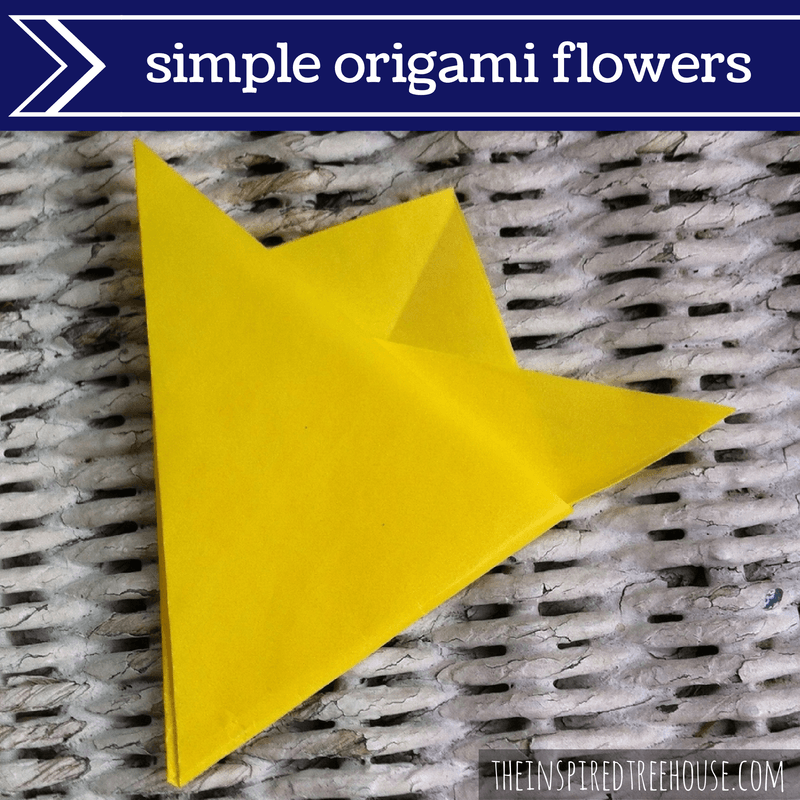
My 9 year old LOVES origami and has worked so hard to perfect the tiny folds required to create masterpieces out of paper! But it’s not as easy as it looks! She and I thought it would be fun to show everyone at The Inspired Treehouse how to create a few EASY origami flowers for our garden theme. This is a great way for a child to work on bilateral coordination and fine motor skills while creating something that she can take away and use later! We’ll give you some ideas of what you can do with these little gems later.
WHAT YOU’LL NEED:
Origami paper or other lightweight paper. Tissue paper may work but will be more fragile. You may also try a piece of scrapbook paper (not card stock!) cut into a 6 1/2 x 6 1/2” square.
WHAT TO DO:
Watch the video below and follow along! Encourage your child to use both hands when completing the folds and to press hard when folding the paper. You can promote finger isolation by asking her to use her index finger to crease the paper. When the flower is finished, add an adhesive magnet to the back and put it up on the refrigerator for an instant burst of summer color. String a few together to decorate for a party. Or, add a stem and use it for a bright bookmark!
HOW TO CHANGE IT UP:
-If your child is too young to do this independently or is frustrated by getting the folds “just right”, make the folds for her and allow her to crease them.
-The lighter the weight of the paper you use, the easier it will be to fold and crease. If your child needs a bit more of a challenge…go ahead and try that cardstock! These flowers are simple enough that you can use that type of paper with a child who has strong little hands!
-For added fine motor practice, have your child color the flower or add details (maybe a bug on a petal!)
SKILL AREAS ADDRESSED:
Fine motor skills, grasp, visual motor integration, cognitive skills
Looking for other flower activities for kids? Try these!
Ring Around the Posies Gross Motor Activity

Latest posts by Lauren Drobnjak (see all)
- End of the Year Gifts for Therapists - April 14, 2024
- Playful Therapy Posters to Spruce Up Your Room - March 30, 2024
- How to Help a Baby Crawl & Creative Crawling Patterns We See in Therapy - March 19, 2024
